99 Nights in the Forest: How to Unlock the Workshop
A comprehensive guide to finding, unlocking, and utilizing the Workshop in 99 Nights in the Forest
The Workshop is one of the most important structures you'll discover in 99 Nights in the Forest. This comprehensive guide will walk you through everything you need to know about finding the Workshop, clearing it of dangers, repairing the essential Anvil, and unlocking its full crafting potential to enhance your survival experience.
How to Find the Workshop in 99 Nights in the Forest
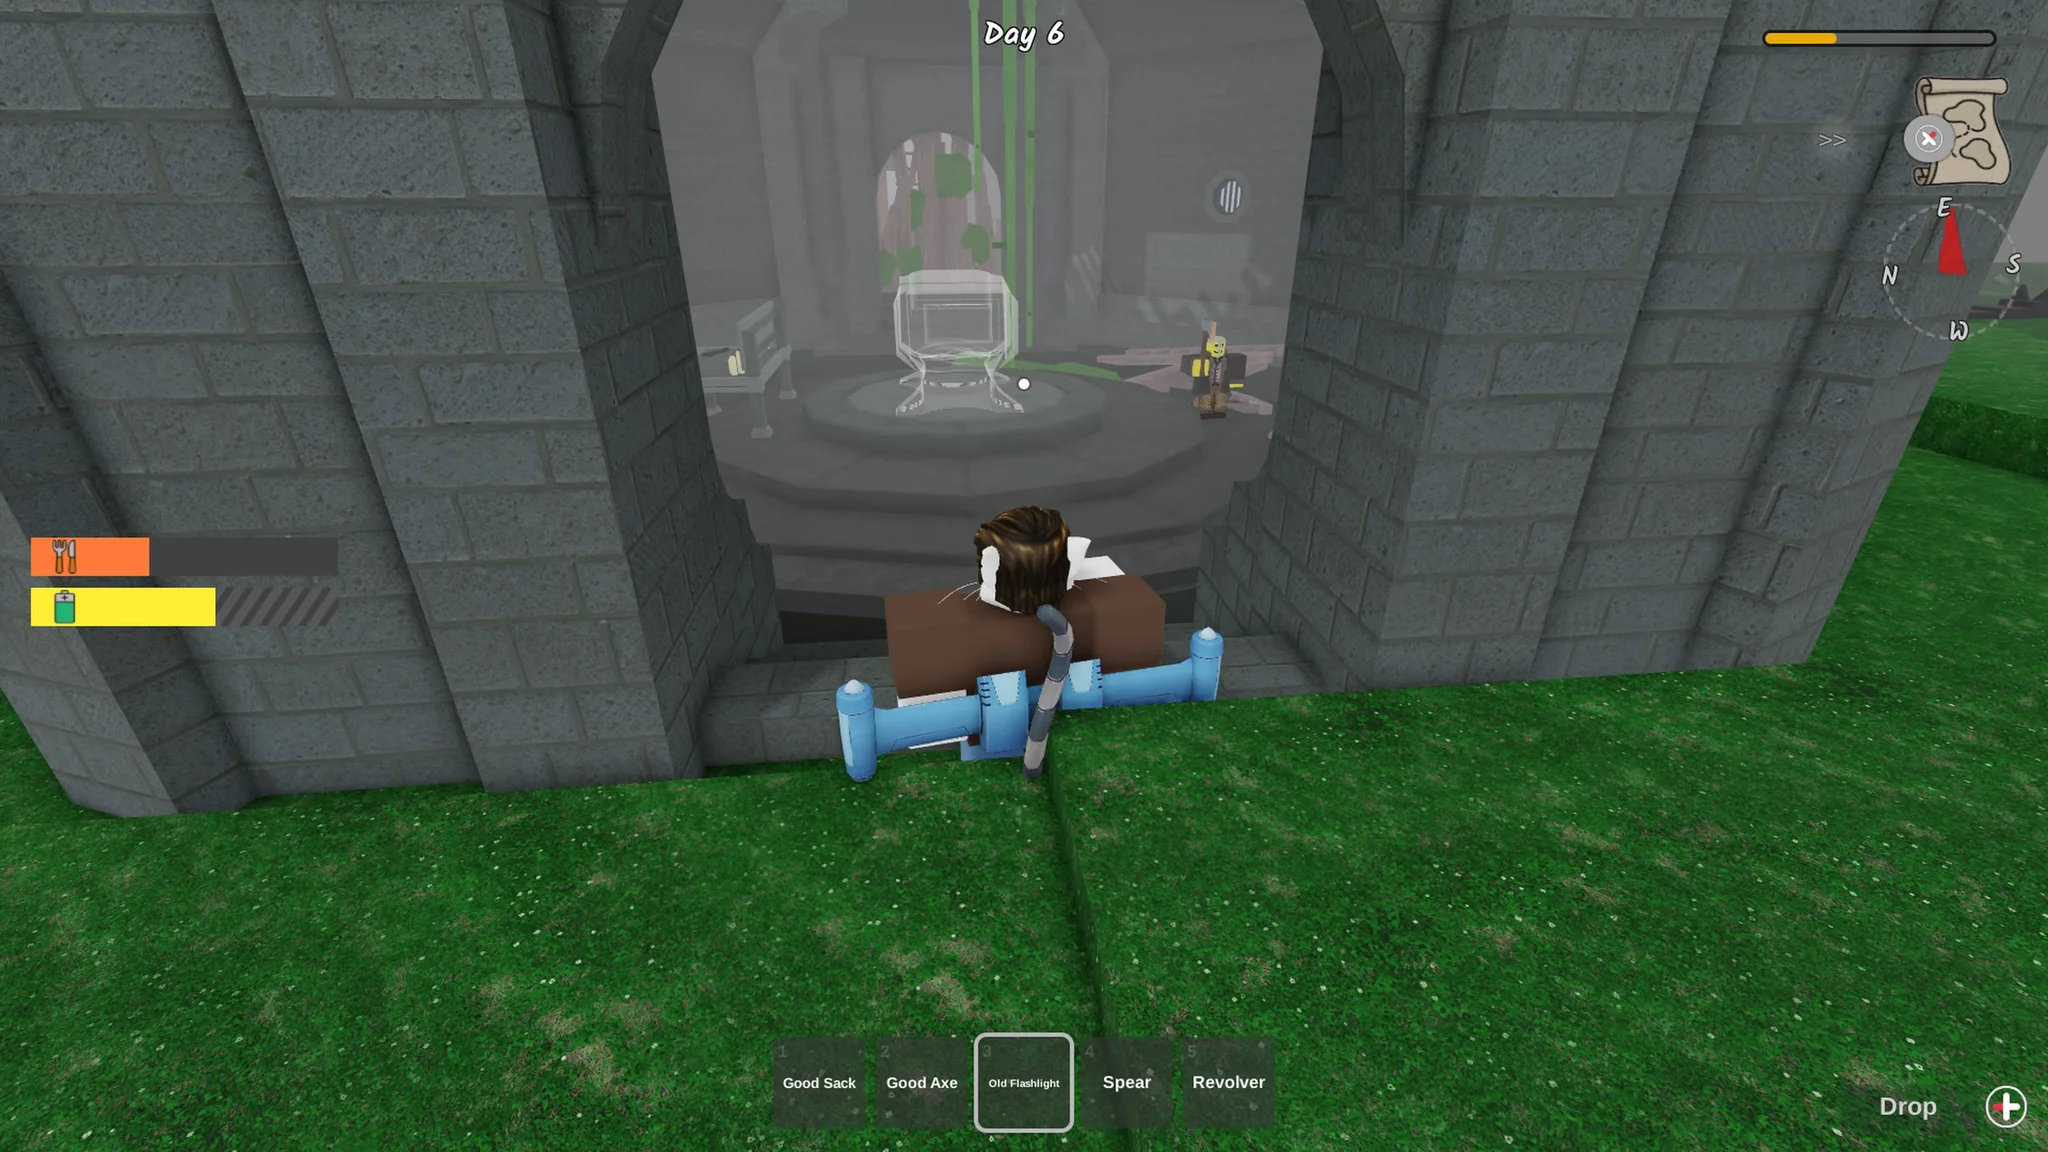
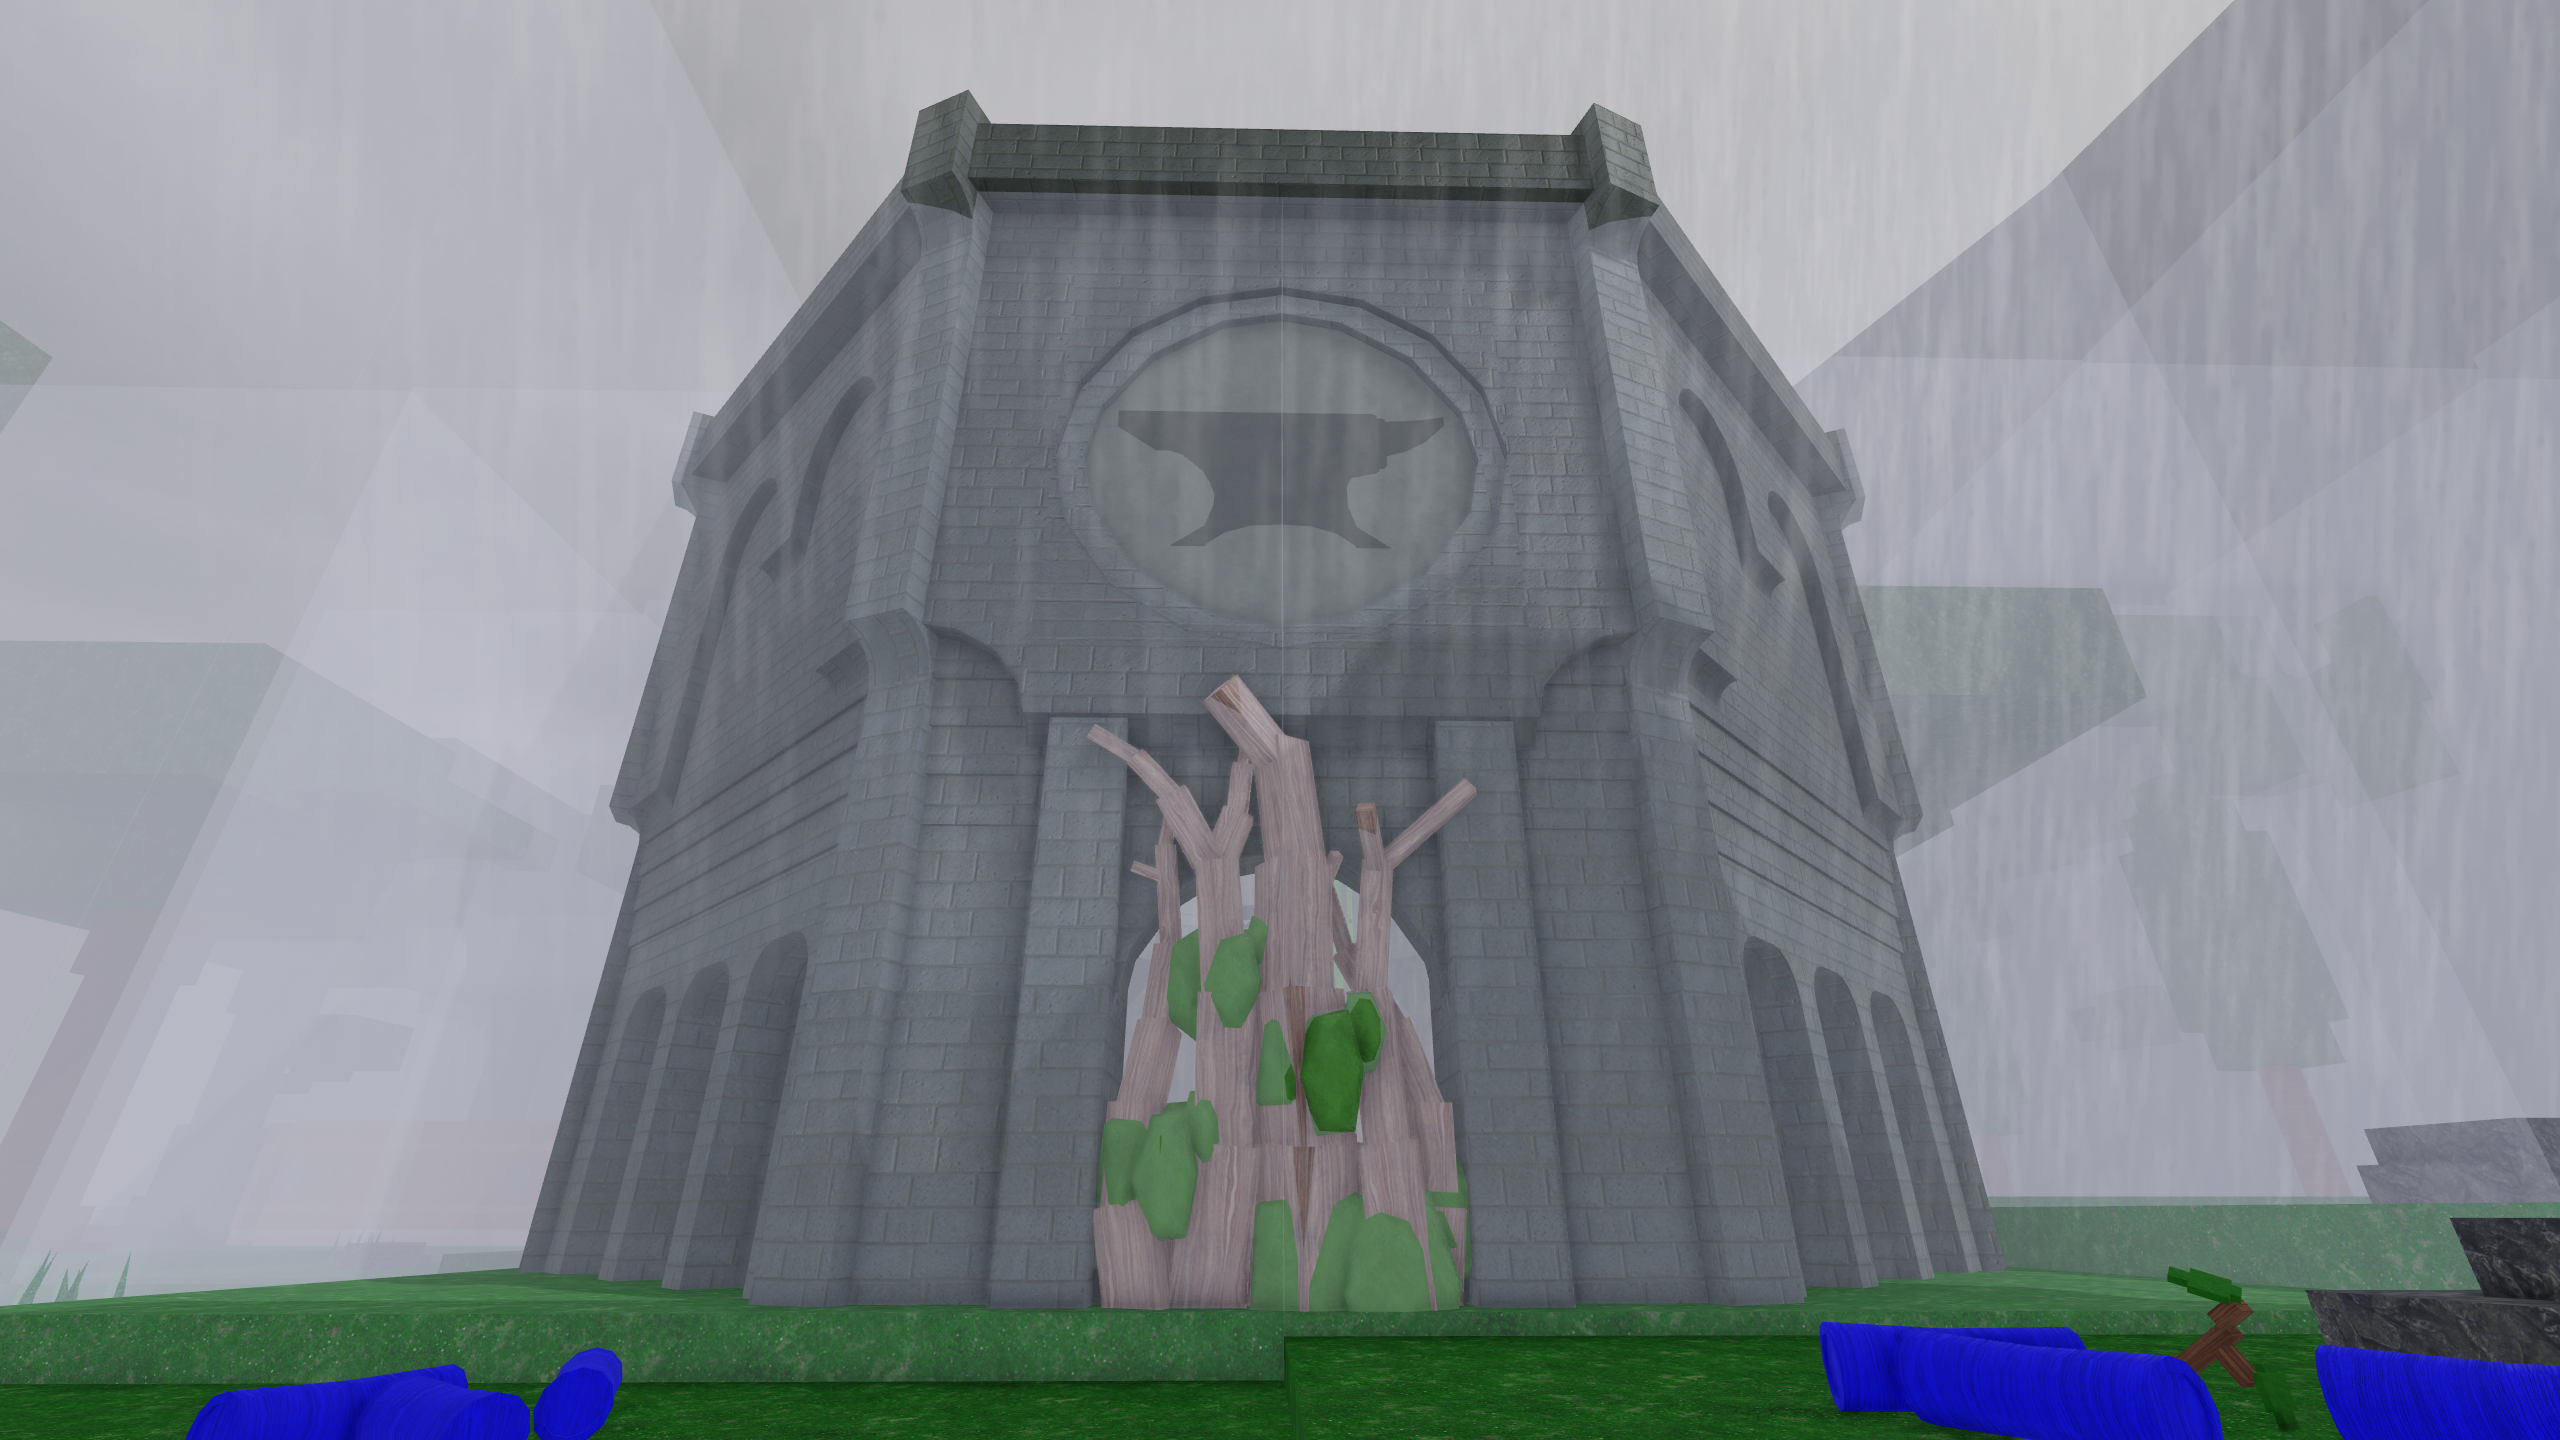
The Workshop appears as a substantial grey stone structure randomly generated within the forest environment. This building features two distinct entrances, both initially obstructed by thick branches that prevent immediate access.

The Workshop appears as a stone structure with two blocked entrances
Navigation Tips for Locating the Workshop
- Craft a Map: Create a basic Map at your base using 3x Wood to help track your exploration progress
- Map Markers: Once you approach the Workshop, it automatically appears as an Anvil icon on your crafted Map
- Landmark Recognition: Look for the distinctive stone construction among the predominantly wooden and natural forest structures
Gaining Entry to the Workshop
Before you can access the Workshop's crafting potential, you must first overcome the physical barriers and hostile inhabitants guarding this valuable location.
Clearing the Entrance
Both Workshop entrances are blocked by dense branches that require persistent chopping. Equip your axe and continue striking the barriers until they break away, granting access to the interior.
Interior Combat Preparation
Upon entry, prepare to encounter three cultists guarding the Workshop. Prioritize eliminating the crossbow-wielding cultist first, then dispatch the remaining two melee combatants.
Video guide: Dealing with Workshop cultists effectively
How to Repair the Anvil in the Workshop
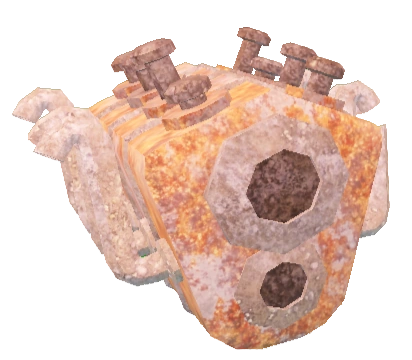
The central feature of the Workshop is the broken Anvil, which must be repaired before you can access the crafting capabilities. The Anvil has been shattered into three distinct pieces scattered throughout the structure.
Anvil Piece #1: Ground Floor
The first fragment is typically located on the ground floor near the entrance. This piece is easily accessible once you've cleared the area of enemies.
Anvil Piece #2: Second Floor
To reach the second floor, ignore the broken ladder and instead look for green vines growing along the walls. Use these natural climbing aids to ascend to the upper level where the second Anvil piece awaits.

Anvil Piece #3: Rooftop
Navigate the circular second floor until you locate a wooden structure leading to a functional ladder. Climb to the rooftop to discover the final Anvil piece, along with a bonus chest that typically spawns valuable loot.
Pro Tip:
Always check the rooftop chest after collecting the third Anvil piece - it often contains rare materials that will help with future crafting projects.
Activating the Workshop Anvil
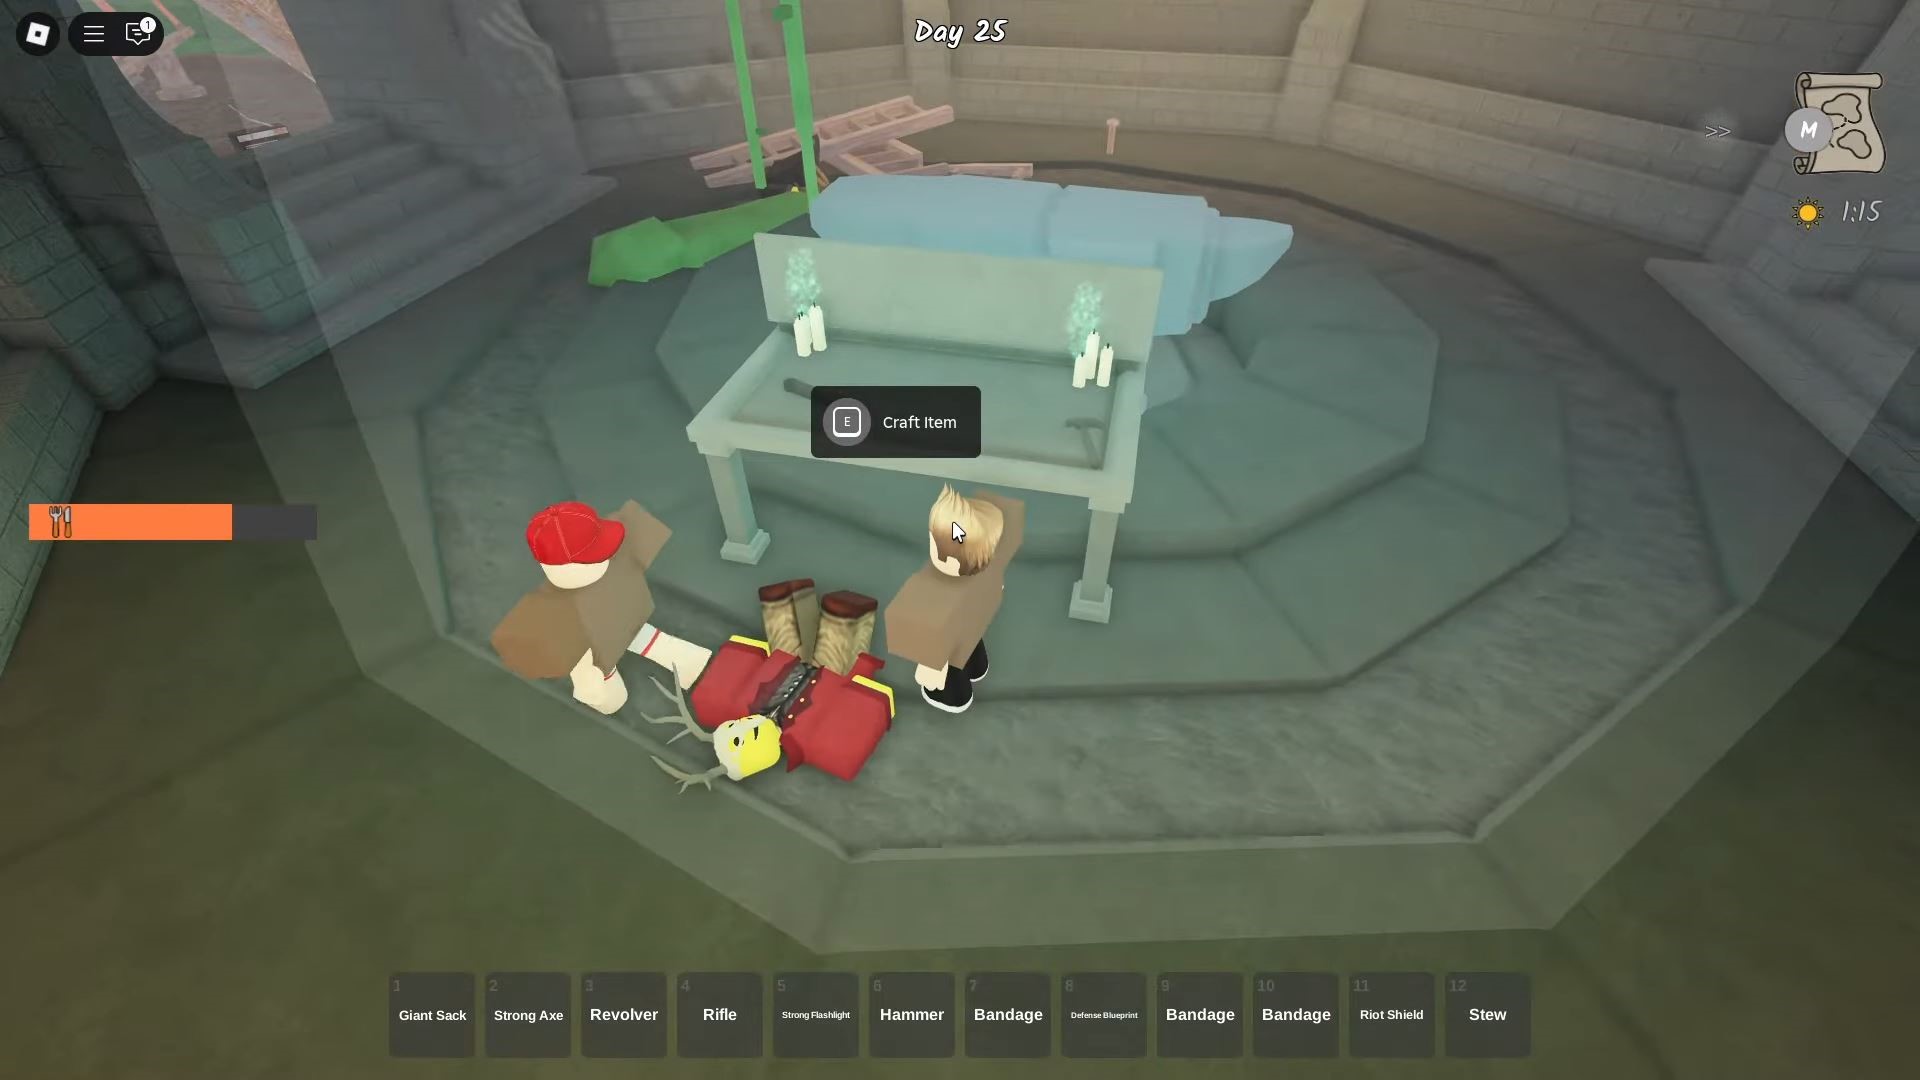
Once you've collected all three Anvil pieces, return to the ground floor and place them into the outline on the floor. The completed Anvil will descend slightly, and the candles on the Workbench will ignite, signaling that the Workshop is now fully operational.
The fully repaired Anvil ready for crafting
Using the Anvil for Crafting
With the Anvil repaired, approach the Workbench to view available crafting recipes. Select your desired item, gather the necessary materials, and return to drop them directly onto the Anvil to create your new equipment.
Workshop Crafting Recipes Guide
The Workshop unlocks advanced crafting capabilities not available at your basic camp. Below is a comprehensive list of items you can create using the repaired Anvil.
| Item | Recipe | Benefits |
|---|---|---|
| Bandage | 2x Bunny Foot, 2x Wolf Pelt | Essential healing item for recovering from combat injuries |
| Mammoth Helmet | Mammoth Tusk x2, Wolf Pelt x2 | Provides significant protection during combat encounters |
| Hammer | 5x Log, 5x Scrap | Versatile tool for construction and combat |
| Chainsaw | Cultist Gem x4, Bear Pelt x4, Alpha Wolf Pelt x2, Scrap x10 | Powerful tool for rapid resource gathering and combat |
Crafting Strategy:
Prioritize creating the Hammer first as it provides both utility and combat advantages. The Chainsaw, while resource-intensive, dramatically improves your resource gathering efficiency in the long run.
Maximizing Your Workshop Benefits
Unlocking the Workshop represents a significant milestone in 99 Nights in the Forest. This facility transforms your survival capabilities, providing access to advanced equipment that will help you thrive in the challenging forest environment.
Workshop Advantages
- Access to advanced crafting recipes
- Ability to create powerful weapons and armor
- Centralized crafting location with ample space
- Permanent structure that doesn't require rebuilding
Strategic Recommendations
- Establish a safe route between your base and the Workshop
- Stockpile rare materials for Workshop crafting projects
- Use the Workshop as a secondary shelter during exploration
- Regularly check for new recipes as you progress
With the Workshop now operational, you've unlocked a crucial advantage in your struggle to survive the 99 Nights in the Forest. Use this powerful facility wisely to craft the tools and weapons needed to overcome the forest's many challenges.